
How Can I Save Time With Meal Prep at Home?
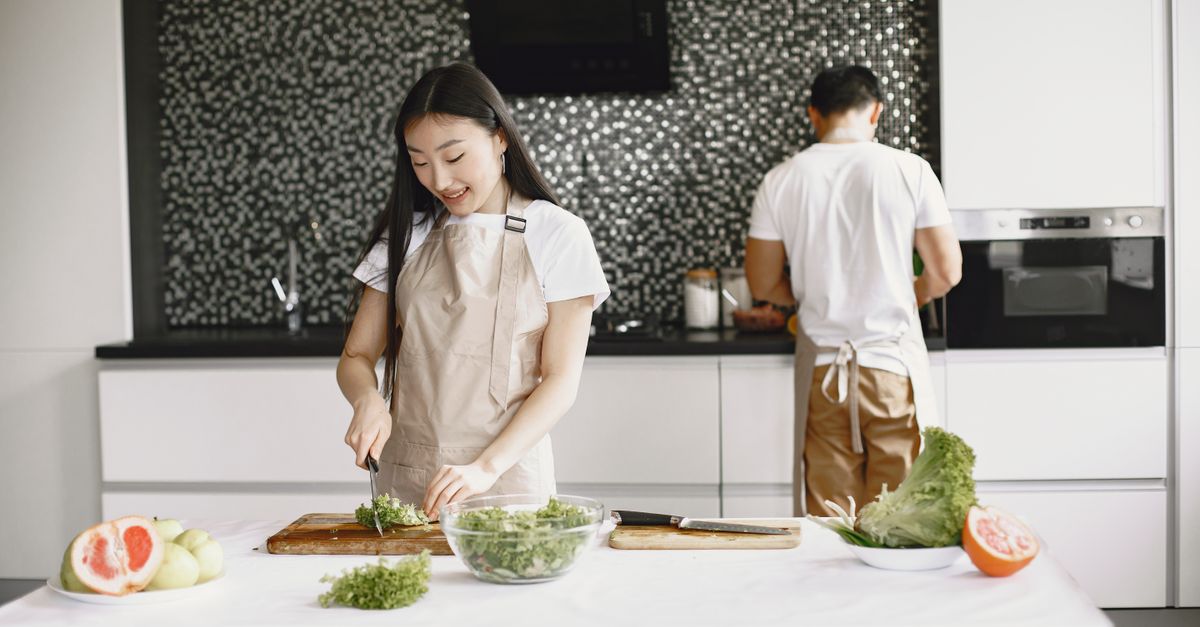
When your schedule is jammed with meetings, workouts and family duties, the kitchen can feel like a last‑minute scramble. The trick isn’t to cook every day from scratch; it’s to set up a system that delivers fresh meals without daily effort. Below is a streamlined framework that turns weekly meal prep into a low‑effort, high‑value routine.
1. Define Your Weekly Meal Goals
Start by listing how many breakfasts, lunches, dinners and snacks you’ll need each week. Decide whether you want to eat out once or twice; use that answer to cap your prep quantity. For busy entrepreneurs, two meals per day are usually enough; athletes can add protein‑rich snacks.
Quick Decision Checklist
- Family size
- Daily activity level
- Variety desired (3–5 dishes)
- Prep time available
- Dietary restrictions
- Budget limits
A single‑person household might pre‑cook 10 lunches and 7 dinners, while a family of four could target 20 breakfasts, 28 lunches and 21 dinners. Setting numbers early prevents overbuying produce that will spoil.
2. Pick a Dedicated Prep Day and Time Slot
I prep on Sunday mornings right after planning the week. Lock that slot in your calendar so nothing else can overlap. If Sunday isn’t workable, choose any day with at least 3–4 hours free. Consistency trains your brain to expect and embrace the routine.
Pair prep with a familiar activity—watching a favorite show or listening to music—to make it feel less like work. Night owls can fit an early‑morning session on Thursday between bedtime and the start of the next week.
3. Draft a Rotating Meal Calendar
A rotating schedule keeps meals predictable yet varied. Assign each weekday a core protein (chicken, beef, tofu) and pair it with two vegetable options. Rotate grains or legumes weekly to avoid monotony. This calendar becomes the backbone for your grocery list.
Sample Weekly Rotation
- Mon – Chicken + Broccoli + Quinoa
- Tues – Beef + Spinach + Brown Rice
- Wed – Tofu + Carrots + Farro
- Thu – Salmon + Asparagus + Couscous
- Fri – Shrimp + Zucchini + Barley
Add theme nights such as “Meatless Monday” or “Taco Tuesday” to keep the menu exciting. A rotating calendar prevents food fatigue.
4. Build a Master Grocery List
Once your calendar is set, write one list that covers all ingredients. Group items by aisle to save time in the store. Use bulk bins for staples like rice or beans; they’re cheaper and you’ll use them repeatedly.
Key Bulk Items
- Rice (white, brown)
- Pasta
- Quinoa, farro, barley
- Canned tomatoes & beans
- Herb & spice blends
- Olive or avocado oil
If you shop at a local market, consider pre‑washed greens to cut prep time. Many stores also offer ready‑cut vegetables in the refrigerated section; they’re slightly pricier but worth the convenience.
5. Batch Cook Proteins Efficiently
Cook proteins in bulk using one method that preserves flavor: bake, grill or sauté. For example, bake chicken breasts at 375°F for 25 minutes, then shred or slice as needed. Keep each protein separate to avoid cross‑flavoring.
Protein Batch Tips
- Use a sheet pan for multiple items at once.
- Season in bulk: mix spices with oil before cooking.
- Cool to room temperature, then refrigerate or freeze.
- Label each container with date and protein type.
A slow cooker or Instant Pot can produce tender stews that keep well for days. A beef stew made on Sunday will be ready to reheat at dinner without extra prep.
6. Prepare Veggies in Advance
Chop, steam or roast veggies ahead of time. I prefer a “one‑pot” approach: sauté onions and garlic, then add sliced veggies and finish roasting. Store in airtight containers; they’ll stay fresh for up to 4 days.
Vegetable Prep Workflow
- Wash & dry all produce.
- Cut into uniform sizes for even cooking.
- Blanch leafy greens, then shock in ice water.
- Roast root veggies at 400°F with olive oil and salt.
- Mash or steam legumes to add bulk quickly.
For a protein‑rich side, toss cooked chickpeas with paprika and roast them for a crunchy snack. The same technique works for nuts or seeds if you want a high‑protein garnish.
7. Cook Grains and Legumes Once
Grains like rice, quinoa and barley are best cooked in large batches. Use a rice cooker or pot; add 1 cup of grain to 2 cups of liquid for most grains. After cooking, spread on a tray to cool before storing.
Batch Grain Storage
- Cool completely before refrigerating.
- Mason jars work well for portion control.
- Add a splash of olive oil to prevent clumping.
- Label with “cooked grain” and date.
- Reheat by microwaving or sautéing briefly.
Cooking grains in vegetable broth instead of water adds flavor. A pinch of turmeric or smoked paprika turns a simple bowl of rice into an aromatic side that feels restaurant‑quality.
8. Portion and Store Smartly
Use clear, stackable containers that fit in the fridge and freezer. Keep portions consistent so you know exactly how much you’re eating. Label each container with contents, date and reheating instructions.
Container Tips
- BPA‑free glass or high‑quality plastic.
- Leave space for expansion in the freezer.
- Color‑code by meal type (blue = lunch, red = dinner).
- Store sauces separately to avoid sogginess.
- Recycle or compost used containers after use.
Silicone lids create a tight seal and can be reused many times. If space is limited, use freezer bags with built‑in dividers; they collapse when empty and save room.
9. Keep Low-Carb Options Ready
Low‑carb meals rely on vegetables and protein rather than grains. Swap rice for cauliflower rice or zucchini noodles. Add healthy fats like avocado or nuts to keep satiety high.
Low-Carb Substitutes
- Cauliflower rice instead of white rice.
- Zucchini noodles for pasta.
- Almond flour pancakes for breakfast.
- Egg muffins with spinach and cheese.
- Greek yogurt parfaits with berries.
Try cauliflower “pizza” crust topped with marinara, mozzarella and pepperoni. The result is a crunchy base that feels indulgent while staying within carb limits.
10. Customize Meals to Family Preferences
Ask each family member what they want and rotate favorite flavors weekly so no one gets bored. Use a simple spreadsheet or note app to track preferences and adjust the calendar accordingly.
Family Preference Tracking
- Create columns for likes/dislikes.
- Add a “new try” column for experiments.
- Mark items that worked well versus those that didn’t.
- Adjust portion sizes based on appetite.
- Involve kids in planning to boost engagement.
Kids often enjoy building their own bowls: provide a base of cooked grains, a protein topping and a selection of raw or roasted veggies. This interactive approach turns dinner into a creative activity rather than a chore.
11. Reheat Efficiently to Save Minutes
Microwave is fast but can dry food. Instead, reheat in a skillet with a splash of water or broth to restore moisture and flavor. For the quickest option, use a steamer basket over boiling water for 3–5 minutes.
Reheating Techniques
- Microwave on medium power, stir halfway.
- Sauté in pan with oil or broth.
- Steam using a reusable steamer basket.
- Use an oven at 350°F for larger portions.
- Cover containers to trap steam.
Add a teaspoon of water to the bottom of your pan before reheating; the vapor creates a mini‑steamer effect that keeps vegetables crisp and proteins juicy.
12. Avoid Common Prep Pitfalls
The biggest mistakes are over‑cooking, under‑seasoning and mislabeling. Keep a checklist on the fridge: “Protein cooked,” “Veggies ready,” “Containers labeled.” If you lose track, you’ll waste food or re‑cook.
Prep Pitfall Checklist
- No over‑browning of proteins.
- Season all dishes during cooking, not after.
- Use airtight containers to avoid odors.
- Rotate items so older meals are consumed first.
- Keep a waste log to improve future shopping.
A common oversight is neglecting the “first‑in‑first‑out” rule. Store new batches on top of older ones, or use a labeled rack that forces you to pick the earliest date each time.
13. Track Progress and Refine Your Plan
After two weeks, review what worked. Did the variety satisfy everyone? Were there time‑savings you missed? Use a simple journal or spreadsheet to note successes and tweaks needed for next cycle.
Progress Tracking Fields
- Date of prep session
- Total prep time spent
- Number of meals eaten from prep vs. fresh
- Any food waste volume
- Family feedback score (1–10)
If a dish is repeatedly skipped, swap it for something more appealing or adjust the seasoning to match family taste.
14. Leverage Tech to Stay on Target
A few apps can streamline grocery lists, meal plans and pantry tracking. My go‑to tools include a budgeting app that syncs with my grocery list, a recipe manager that auto‑generates shopping lists, and a timer that reminds me when it’s time to move from one task to the next.
Recommended Apps
- Meal planning: Mealime or PlanMyMeals.
- Grocery budgeting: YNAB or Mint.
- Pantry inventory: Out of Milk.
- Timer & reminder: Pomodoro Timer or Todoist.
- Recipe scaling: Paprika or Cookpad.
Many apps offer barcode scanning, so you can instantly add items to your list while shopping. A quick scan of a canned bean package will automatically adjust the quantity based on how many servings you plan to use.
Key takeaway: Consistency beats perfection. Set a weekly prep day, batch cook proteins and grains, portion into labeled containers, and use low‑carb swaps to keep meals fresh—all of which save at least 30 minutes per meal over time.In my experience, the first month is the toughest; the brain needs to shift from “cook daily” to “prep once.” After that, the routine becomes second nature, and I can focus on growing business, coaching kids or catching up with my dogs without worrying about dinner.
What’s your biggest challenge when setting up a meal‑prep system for your family?


